So I’ve used the weekend to good use and finished the modding of my viperwing ACESII seat.
I’ve started my weekend by getting in the car and driving to visit a fellow nut – “Peten” from Viperpits.
I went there to look at his work, help him out with fixing his TIR clip (the darn plastic crap clip “pro”)
I took my plate with me, as his pit is full metal, I’ve figured that his workshop is much better equipped then my balcony…
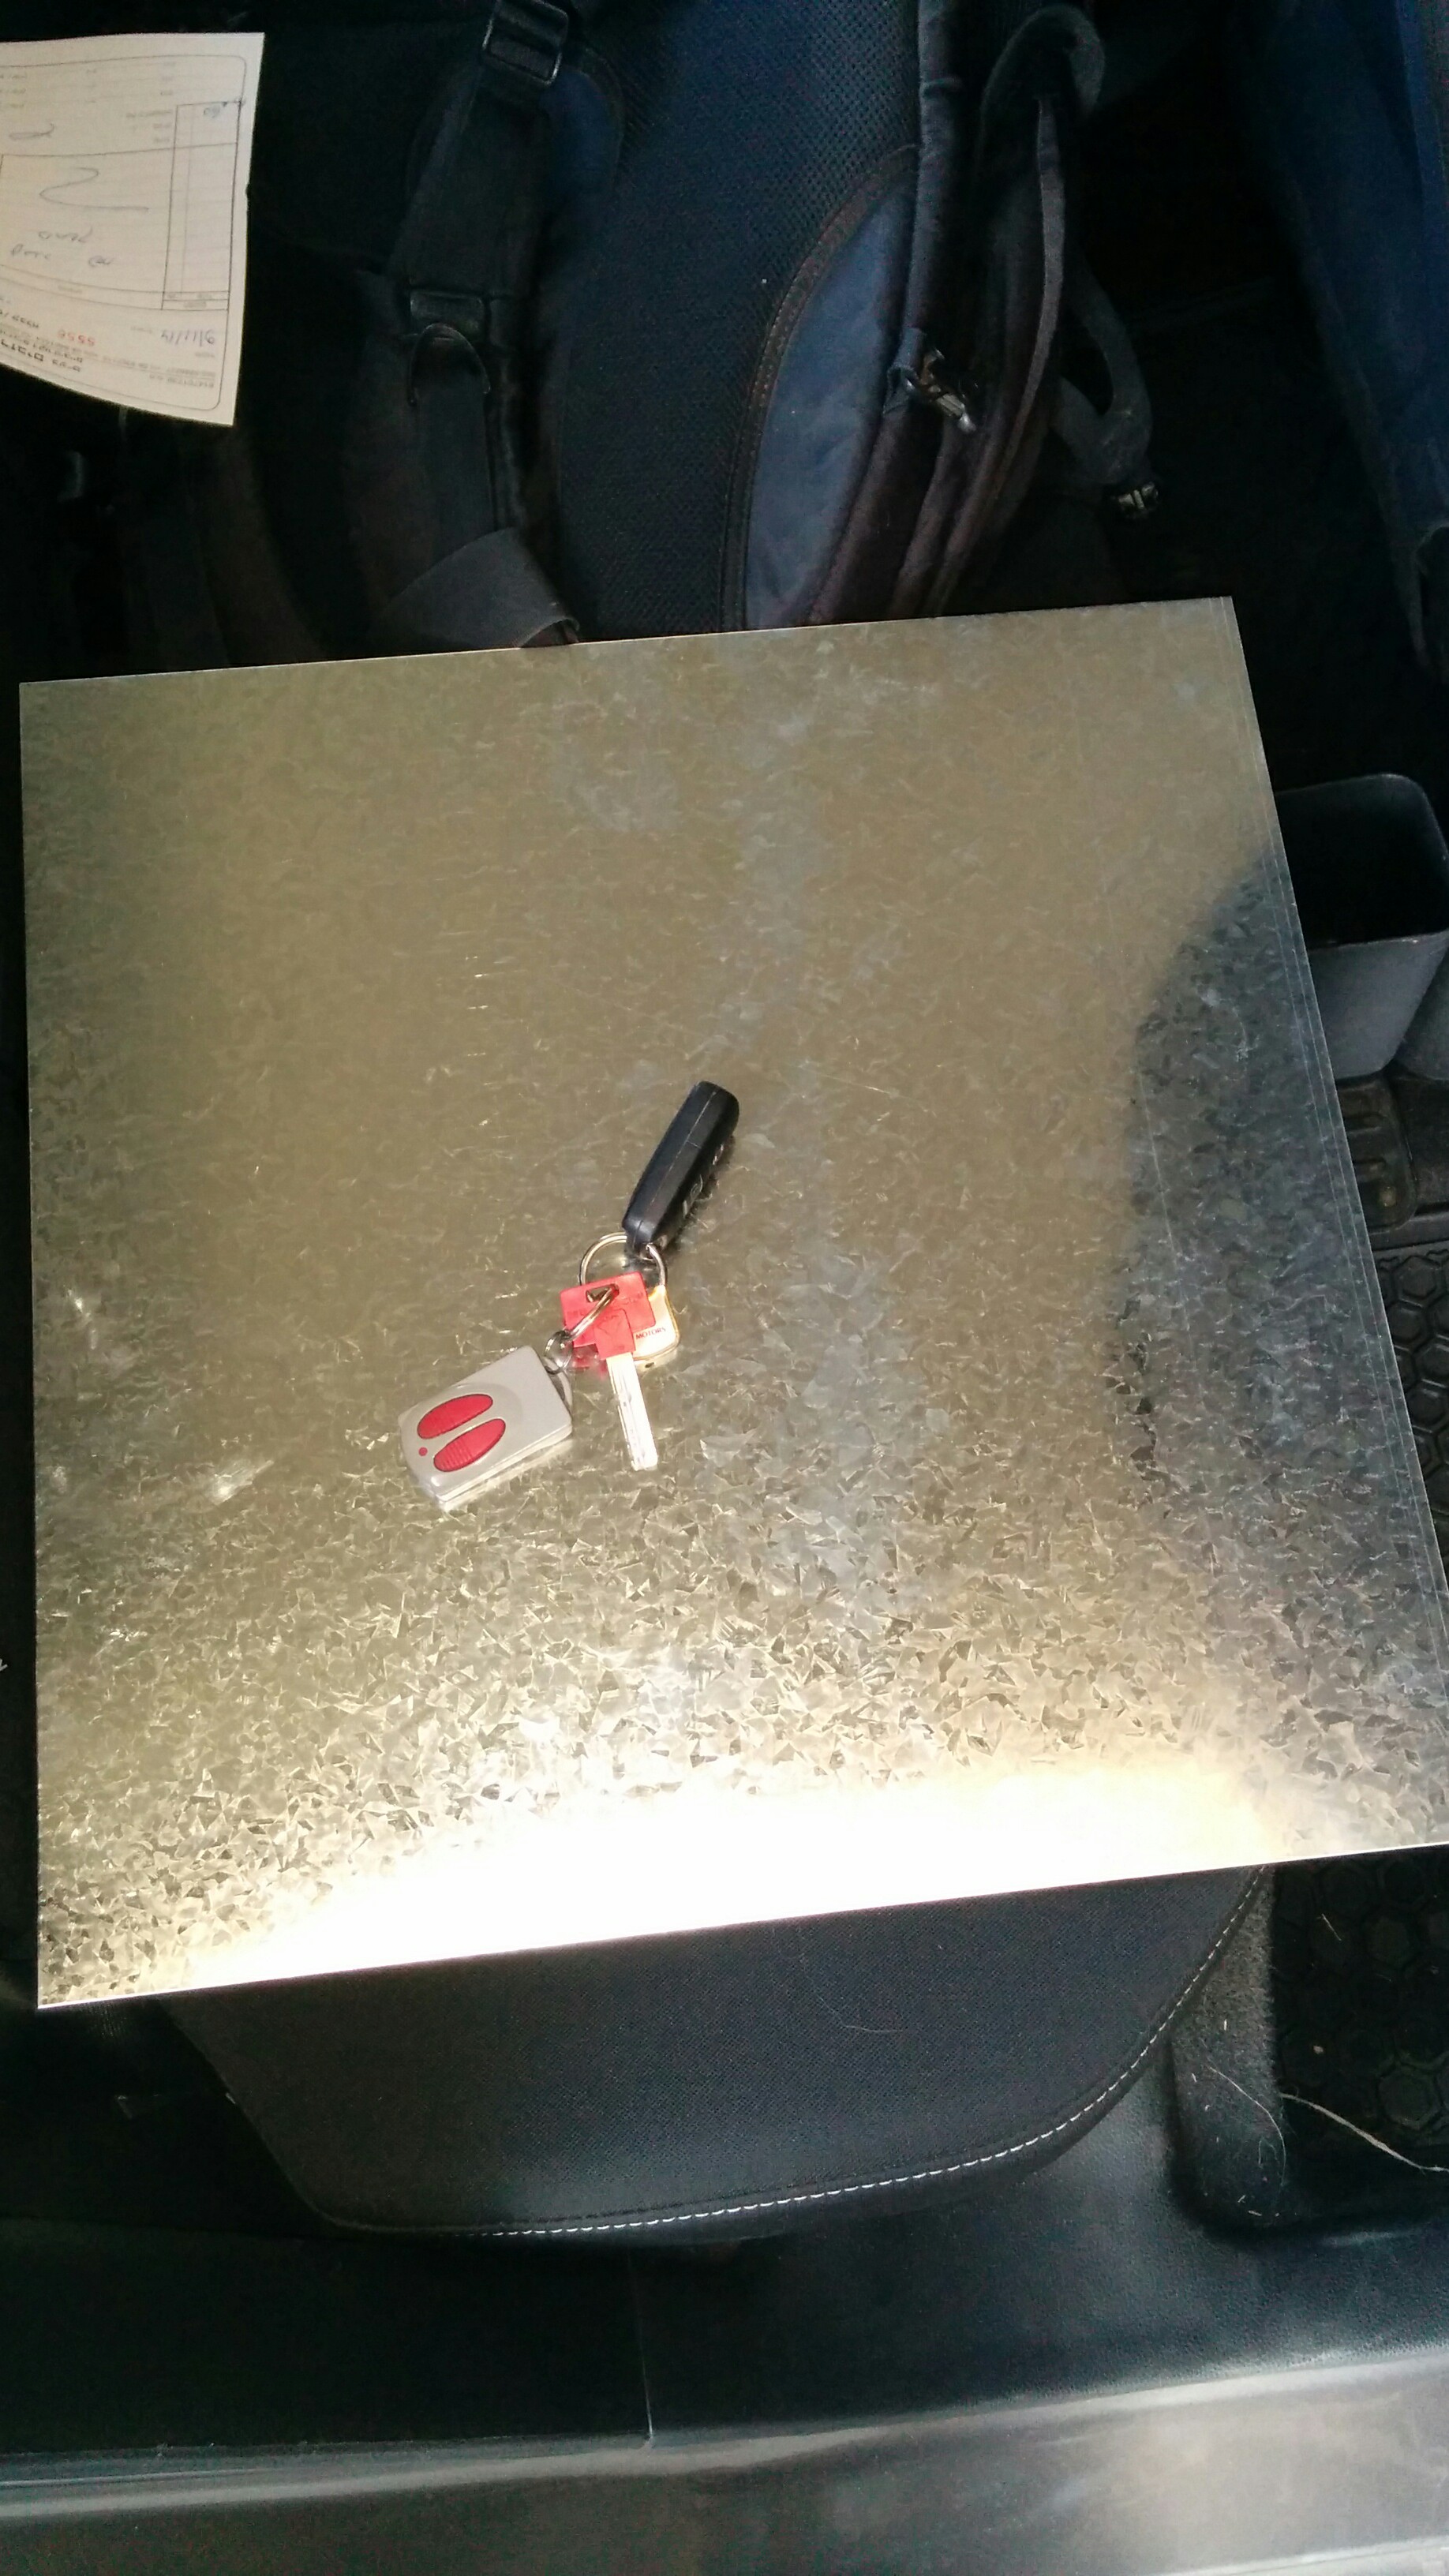
I’ve taken my plate (it cost me about 15USD to get the material and have it cut to size by a local drain fabricator),
photographed here with my car keys as the darn phone wouldn’t focus.
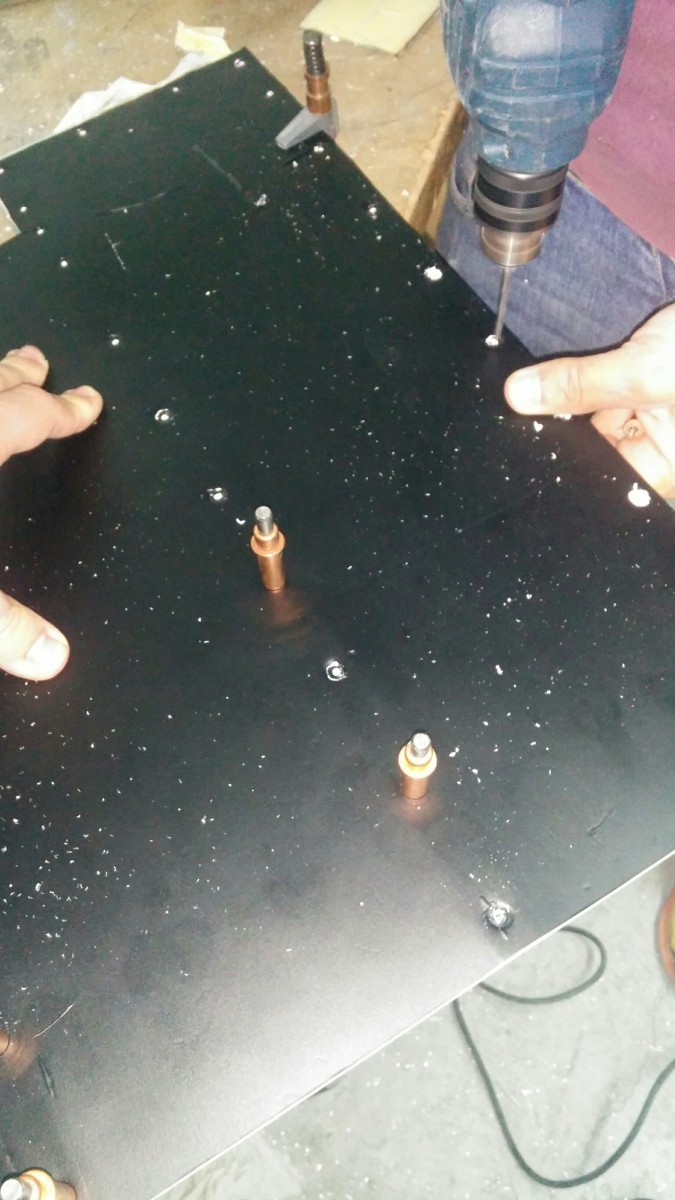
We took the plate I took off the seat,
clamped it to the metal and started partially drilling the new plate.
because his pit the Aluminum, he has lots Clekos, which are used to as temporary rivets while still in fabrication. so after a few holes were drilled, we started using them to hold the plate – which was a good call because we found holes that we missed and had to re-attache the plate to drill.
We’ve also used his disk saw to cut the indent and polish the metal. Much faster then the puny little Dremel disk saw.
We didn’t drill the entire plate because the PVC palate I took off, and the Metal plate I cut to the given dimensions were not perfect fit. I knew I had to fit it to the seat before I could drill and cut everything perfectly to size.
Once I got back home, I started bending the plate to shape using a table I had on the balcony. got it pretty much to the correct shape – then asked my spouse to sit on the chair (to flatten it down to the frame and marked the corrections I needed to make)
With corrections Marked, I could mark down the drill holes and start drilling – I broke two drill bits while doing this because I used a re-chargeable screwdriver rather then a real power drill.
I when down to the building parking, to cut the access with the Dremel, and polish it a bit (again – Dremel)
I’ve screwed the back of the seat, gradually, to have the screws grab the metal and wood – taking care not to have too much force on those screws at any given time – In fear that it will tare the MDF to pieces.
the tricky bit was the front, where the bent wasn’t perfect, and I needed the screws to put everything in position.
I’ve taken Peten’s advice, and used a silicon based cconstruction glue to help hold the plate into position.
I’ve screwed all the screws in the front half way in, and started tightening them bit by bit, with every screw tightened, the others has some more room and which some pressure, and a mallet, the plate when into position, screws tight, and the the plate in place.

and for the first time in a few weeks, I can seat on my computer and actually do stuff (Or at least I will be able to – when the glue dries completely)
These are the before, in the process and after pics.
Now it’s just a matter of getting the cushions back – but one thing is certain – I will never ever be able to break the seat plate again!