Now that the pit has arrived it’s time to start putting things in.
with the pit I’ve ordered 3 8″ LCD screens, two for MFD and one for the central console. I have my 27″ monitor and my PC to think about.
placing everything wasn’t easy, I need to think about where the power outlets are in the room, what goes to which outlet (I’m not fond of connecting the massive gaming rig to the same outlet with a treadmill or my soldering iron), where the window is (TIR hell!) and where the door is (I hate sitting with my back to the door – It makes me feel uncomfortable).
while I was trying to figure out where I would place the pit in my workroom, the Better half has suggested we trade room as here work room is more simple and there a lot of stuff in what was my room that are just bulky. So we swapped rooms, now I don’t have to deal with the treadmill, and I only have a closet full of shoes I need to allow access to.. Not the perfect man-cave, but hey, you take what you can get.
Eventually we will have this:
Aug. 18th, 2014
But let’s break down what we have.
As soon As I got to think about the new arrangement it hit me. the front of the central console is slanted, I.e I can’t put my screen on it. and it’s too small of a screen to be wall mounted. I measured the central console height around the area I wanted to place the monitor in and it came out about 95cm tall – So I need either a desk with 95cm clearance which is about 80 cm between it’s legs (so it can stand both sides of the central console. I’ve also toyed around with building some sort of a leveler for the monitor that will sit on the console, but I’m no carpenter. So I opened up my hunt in IKEA, and what do you know, I found exactly what I needed:
I took a 100*60 cm black tabletop (fit the color of the console) – LINNMON
and adjustable hight legs, that can go up to 90 cm I went with while legs – OLOV
I went with the UK site because it’s in English and metric – and as IKEA change models, the item names and type might change, but the concept is the same.
Furthermore, as I assembled the desk, it seems that the legs have som more spare – so I opened them up to around 93cm.
there is a more expensive leg in IKEA that extents to a stated 107cm, but it costs about twice as much per leg. – GERTON.
So with that sorted, I went ahead with the rig setup.
I prefer to use Velcro to connect things to other things as it can be taken off if needed. So I opted for that for the MFDs rather then Hot glue or double sided sticky tape.
MFD screens attached without issues as the weight is supported by the frame of the pit, and the velcro only used for stability.
the central screen however is a whole different story. because it hangs without weight support other then the attachment to the frame, it fell.. a lot… it was so common for me to see it hung by the VGA cable It looked like the screen kept bungee jumping off the pit frame.
i’ve tried Velcro – It fell after two hours, the Velcro would not attach to the frame of the pit, and was peeled off by the weight.
I’ve found a 3M double sided tape for rough surfaces, it fell after a day, half stuck on the screen half on the pit.
then I went overkill – I’ve used Contact Adhesive to glue to Velcro to the screen and the other side to the pit. then I let it cure for a few hours and success! it’s stuck there!
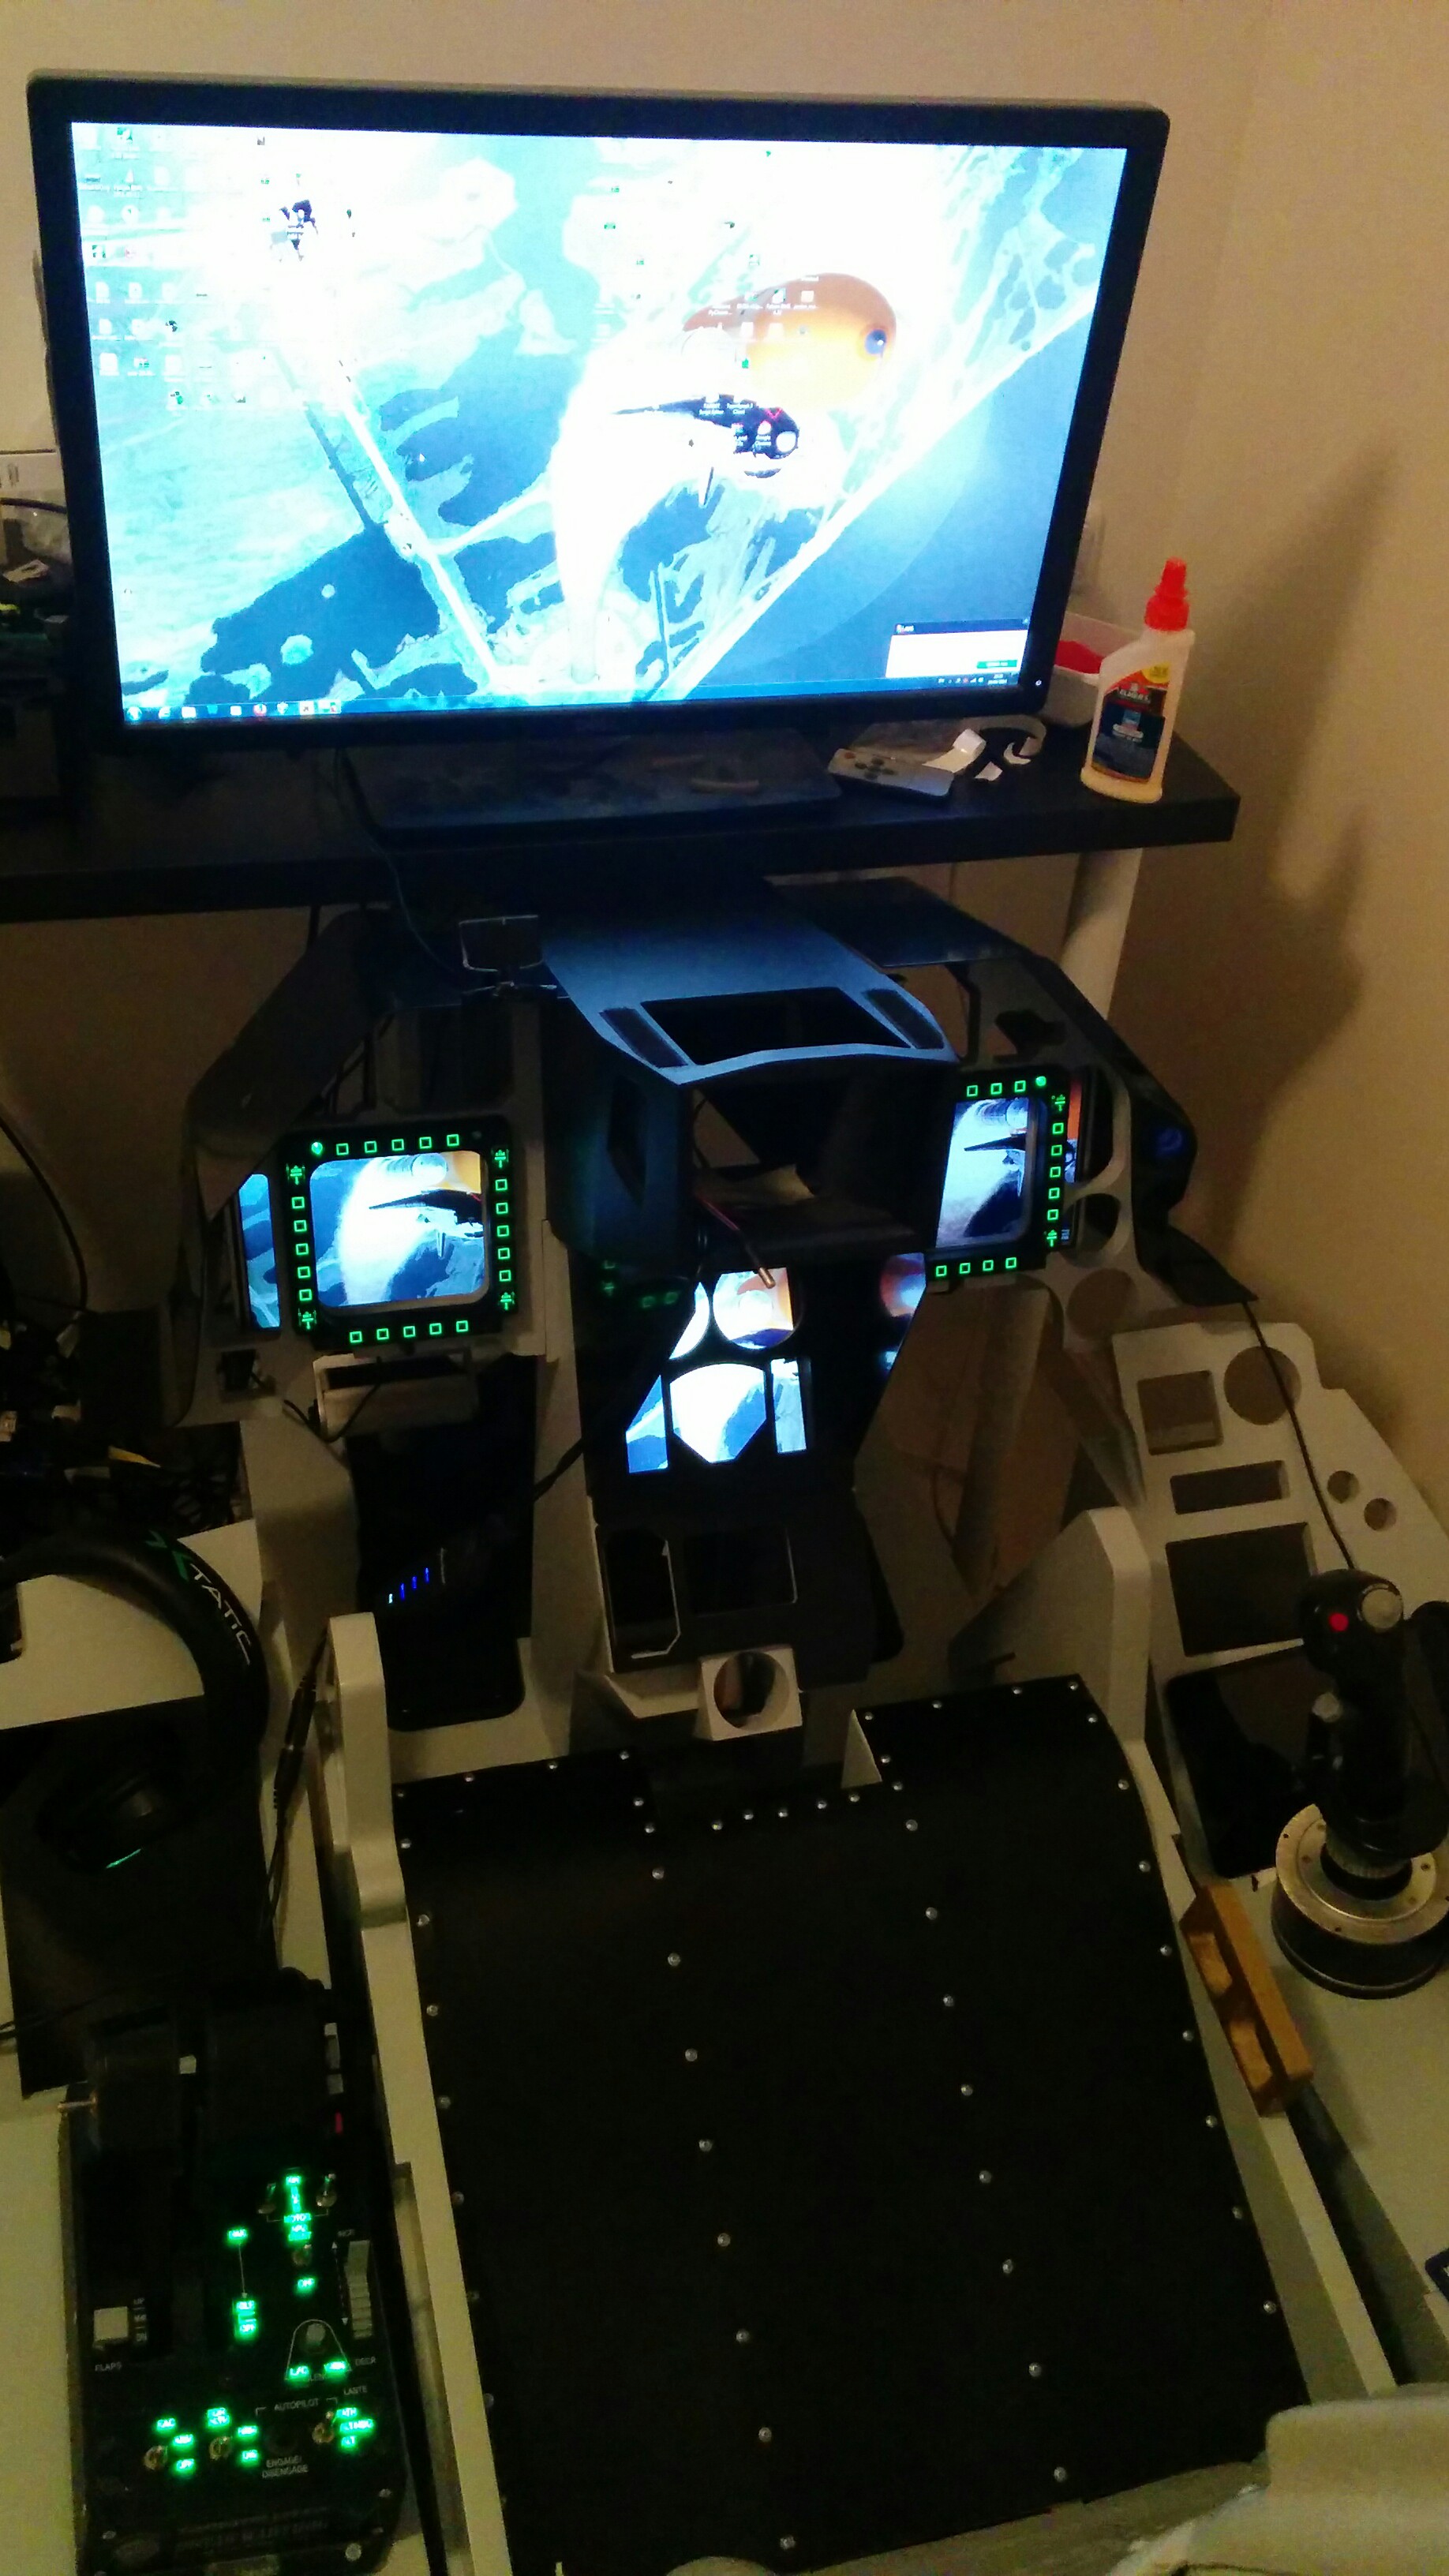
The image was taken After mounting the Stick and throttle – We will cover this on the next Pit post.