Finally – The main event has started!
the THC construction. I have decided to use the services of a profesional carpenter to make the cuts I need. the cost was minor – around 15$. board are 18 mm and 4 mm plywood.
These are most of the parts – some pieces were too small for a “production line” carpenter to do (they do mostly furniture, and getting them to do all the fine details I need would have blown the price beyond any proportion). So I still have some fine tuning to do.

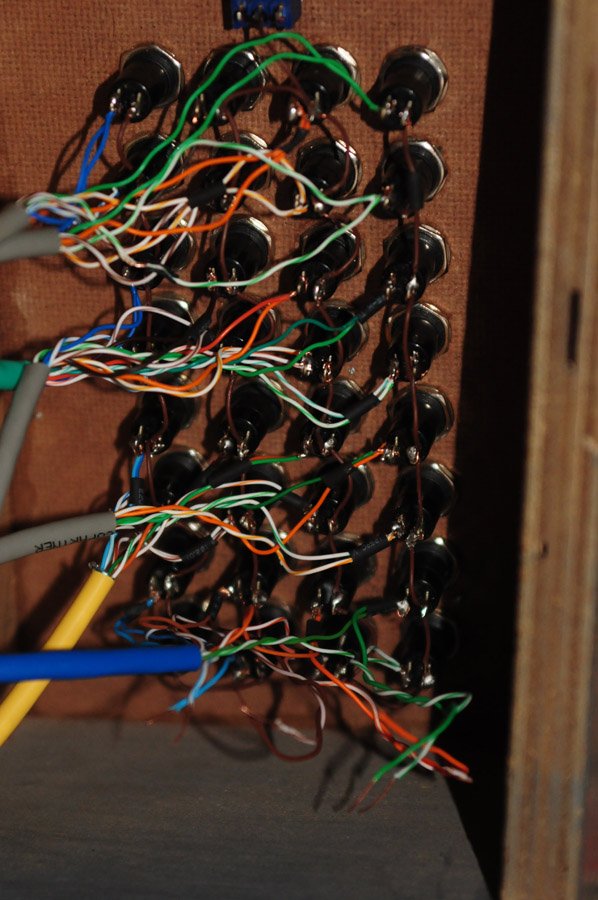
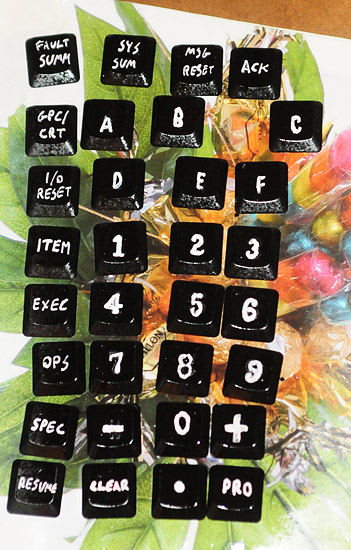
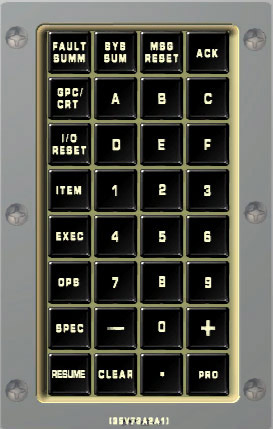
The THC box will have an opening on the right side (Keypad would be attached on the left) the opening will be covered with a slide door. this will allow access for maintenance. internaly the Box is partitioned to two. Front segment will house the Stick and support the mechanics, it is made of a thick back plate (sitting in the center of the outer box) and a very thin front plate to minimize the lose of stick length during it’s travel. Aft compartment is a sliding door with a thick plate on which the IPAC sits. it is also to allow easy access. (In theory I can get the whole controller out and work on it. Practicly I’m afraid the cables from the Keypad are too short :(. (I was originally planning on using IDE connectors – but My soldering is so bad, I’m better off without it).

Visible in this Image are the Middle buffer and the Aft slide door.

This is with the Front Buffer.
the parts not shown here are the right wall (short piece that will sit on the front, mainly to provide 4 side support of the plywood in front) and right slide door. I need to cut it and make a slide in it – in addition I still need to cut “handles” for the slide doors.
I also need to drill holes for the USB cable for the controller, for the cabling from the keypad, holes on the Mid buffer for the Guide rails that will allow the Stick to move back and forth and last are attaching two stubs to the mid buffer (and drill matching holes on the left wall of the box).
Some of it does not make sense right now – I know, I just can’t get it to make sense in writing nor in 2D sketches (and I cant really draw 3D). But hopefully as the Build will continue, it will make more and more sense.
And this is the link for the PDF with the sketches. all the notes are in Hebrew (sorry, didn’t think about it while I made it – I was too busy making it to make sense to the carpenter). All measurements on the PDF are in centimeters, but use them as guidelines only, do the math acceding to the wood you are going to use, 10, 12 and 15 mm plywood would be just as good, but will require you to do your calculations from scratch.
grooves were planed to be 3 mm deep and 4 mm wide, the equipment limitation stated 4 mm deep, I have fixed the measurements on the fly for some of the parts, other got some extra material I need to shave of with a file or sandpaper. in addition the grooves go from edge to edge of the wood, and not stop short as with the sketches.


