Well,
after the last post in which we sorted out the screens, it’s time to tackle the flight controls.
I know the posts seem a bit out of order, well because I’m using the magic of WordPress, I’m actually facing the publishing date, and everything is written post effect, well it will end at some point 🙂
Anyway, yes, flight controls…
While this is written, (I’m only back logging a month or two, so don’t worry) I’m using TM warthog and Saitek combat rudder. It will be at some point replaced by cougar throttle and maybe FCC3 – but that is in the unforeseen future.
Back to mounting existing hardware 🙂
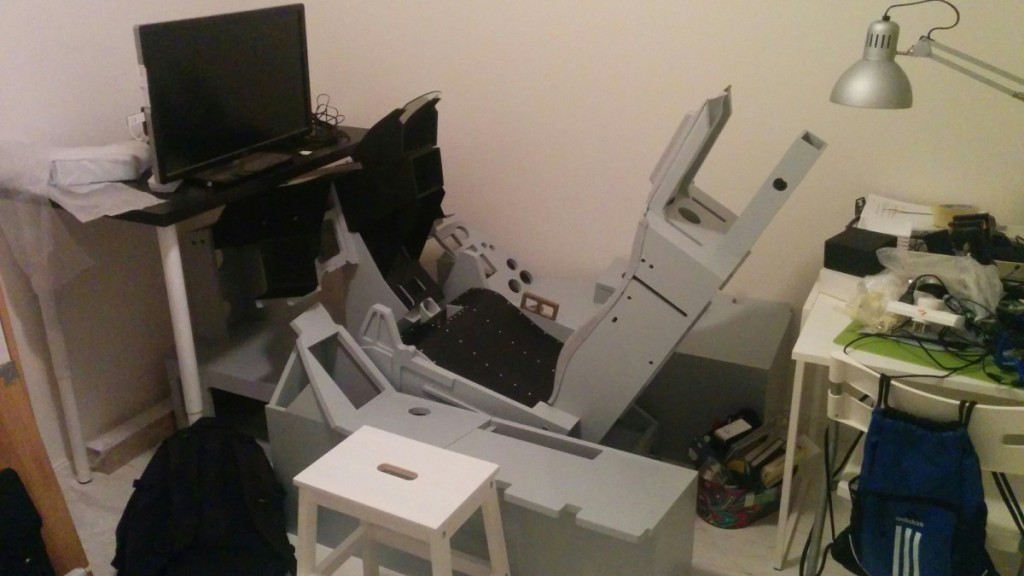
We start off with a empty pit.. what? no screens??

Let’s start with the easy part, the rudder pedals, I used the supplied Velcro that came with them, it’s the strong industrial type. It originally came with two strips and matching engraving on the bottom. But after trying to separate the two sides I’ve decided to use just one strip cut in two so when I moved to the pit, I’ve been left with one strip to use, which is nice 🙂
Once I’ve centered the pedals on the central console using measurement tape I used a pen to trace around the pedals, now I can peel off the sticky bit off the Velcro and place it. Always leave the two parts of the Velcro attached, that will allow you to place your whatever in position, without having to worry about the Velcro strips misaligned. Once in place, I’ve sat in the pit to fine tune the pedal distance from the Seat, I used the side traces to keep the pedals aligned while moving them into position. Done!
Next up stick and throttle.
Thrust master provide a mounting plate diagram for the WH which is very helpful for the stick.
I’ve drown the holes I need on a piece of paper to I can align the whole thing before drilling, making sure I’m centered. And a quick 4mm drill will do the trick. After quick cleanup with sandpaper and the right console is ready for mounting. In addition, The stick has a stress relief built into the structure, I have to disconnect it, So I used masking tape and duct tape as a makeshift stress relief. Stick takes M4 screws for mounting.
Once all that was done, it was time for the throttle, I’ve just set it to position, marked the drill position and made a quick drill.
One important thing to notice, the console is slanted inwards, which makes drilling perpendicular some what of a challange – as the holes tend not to allow screws to pass straight, I had to put a lot of force to get everything into position. for the throttle I used hexagon head M5 screws (for looks) and tighted up on the bottom with nuts.
— Update (Sep. 15th ,2014)
After some flying, I discovered that the stick is a bit too low, as it is moving, it creates stress in the wrist. I’ve used the stick elevation adapter, provided with the viperpit (Thanks Marek!) And Velcroed the adapter to the console..
I’ve also activated the AB detent on the throttle, I finally have enough mass connected to the throttle to avoid lifting.